


Recommended Method
Heat Press Application
Using a commercial-style heat press offers the most consistent and durable results due to its ability to provide even heat and quantifiable pressure.
Professional Settings
Our recommendations offer a standardized starting point for our film and ink. Due to variables such as your specific heat press, fabric type, and application technique, we recommend performing a test to fine-tune your settings for optimal results.
Steps for Precision
Professional Settings
| Fabric Type | Temperature Range (°F / °C) | Time (Seconds) | Pressure | Peel Type Recommendation | Notes & Tips |
|---|---|---|---|---|---|
| 100% Cotton | 280-290°F / 138-143°C | 12s | Medium to Firm/Heavy | Hot Peel | Ensure good pre-press. For Hot Peel, peel quickly and smoothly. Test carefully. |
| 100% Polyester | 255-265°F / 124-130°C | 10-15s | Medium to Firm/Heavy | Hot Peel | Use lower temp range to prevent scorching & dye migration. Test carefully. |
| Blends (e.g., 50/50 Cotton/Poly) | 255°F / 124°C | 10-15s | Medium to Firm/Heavy | Hot Peel | Adjust based on blend ratio. Err towards Polyester settings if poly content is high. Test carefully. |
| Nylon | 245-255°F / 118-124°C | 10-15s | Firm/Heavy | Hot Peel | Very heat sensitive. Start at low end of temp range. Use silicone sheet for protection if needed . Test carefully. |
| Spandex/Lycra Blends | 240-250°F / 115-121°C | 10-15s | Medium | Hot Peel | Stretch fabric slightly on platen before pressing . Use transfers designed for stretch if possible . Test carefully. |
| Rayon | 250-260°F / 121-127°C | 15-20s | Medium | Hot Peel | Heat sensitive. Test carefully. |
| Denim | 270-280°F / 132-138°C | 15-20s | High/Firm | Hot Peel | Thick fabric. Ensure completely flat surface. Test carefully. |
| Canvas | 270-280°F / 132-138°C | 10-15s | Firm | Hot Peel | Sturdy fabric. Ensure good pressure. Test carefully. |
| Leather | 260-280°F / 127-138°C | 15-20s | Medium to High | Hot Peel | Avoid excessive pressure to prevent marking . Test carefully. |
| Synthetics (Dye Migration Prone) | 240-250°F / 115-121°C | 30-50s | High | Hot Peel | Drastically lower temp, longer time. May need specific transfers or increased white ink underbase . Test wash fastness. Test carefully. |
Pro Tips
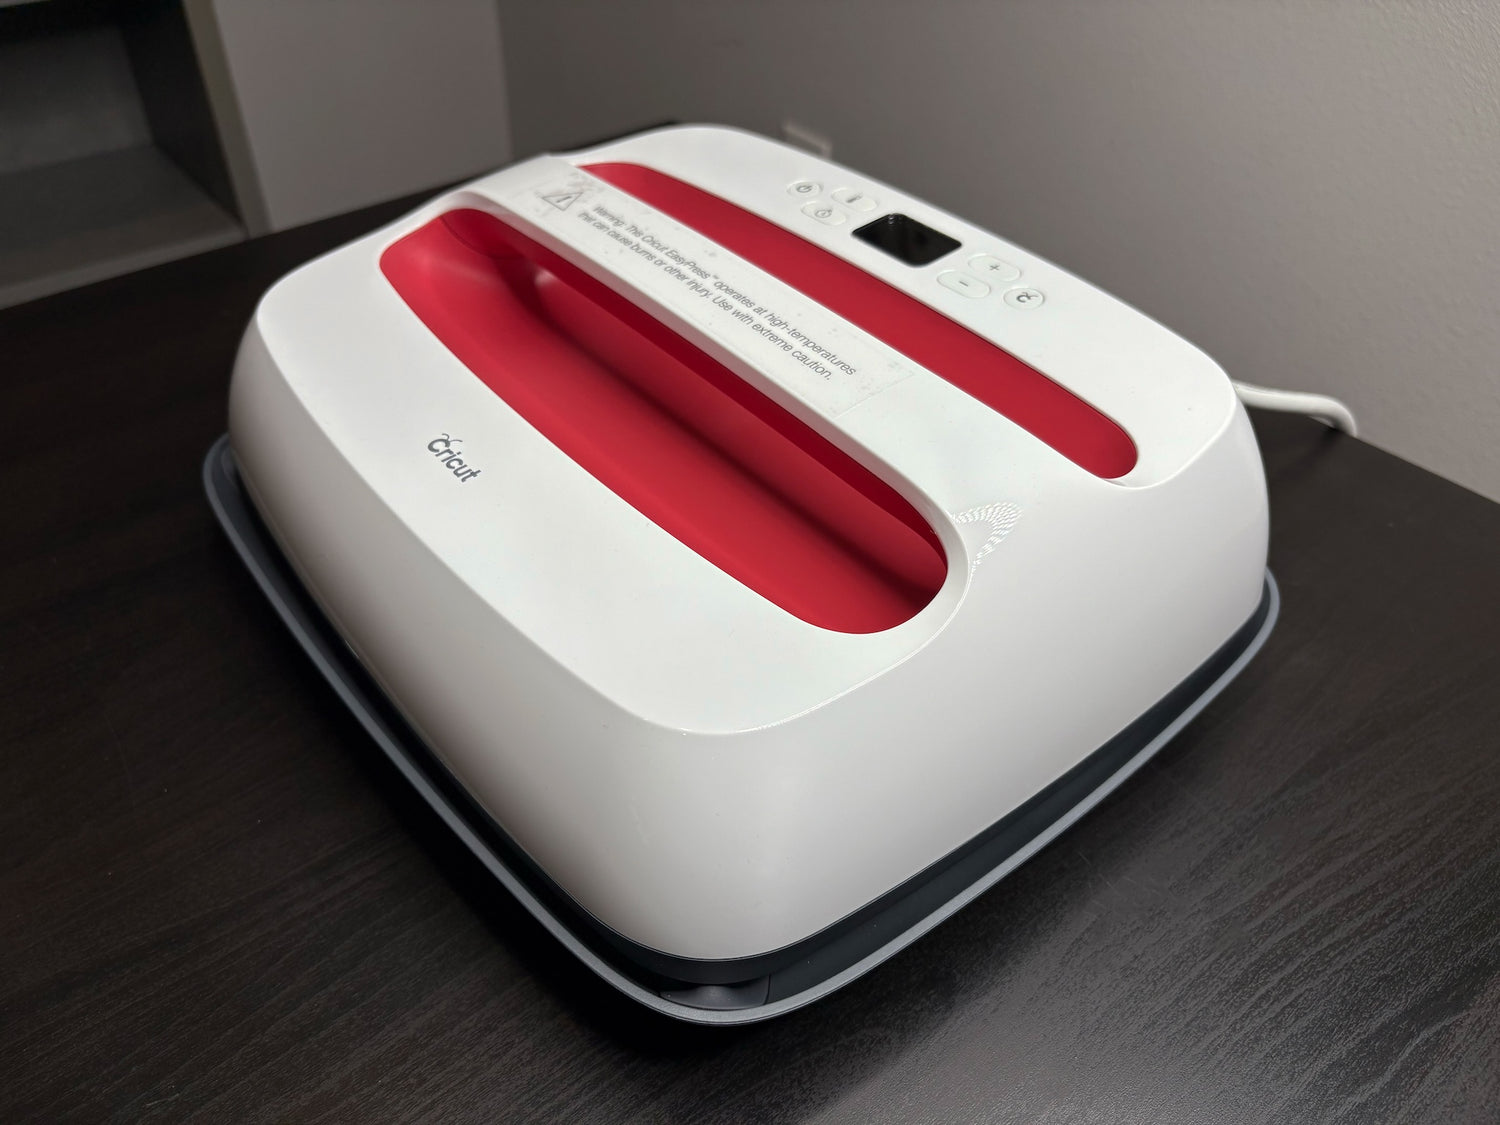
Cricut EasyPress Application
Achieving sufficient and even pressure is key when using a Cricut EasyPress, as it relies on manual force.
Fabric-Specific Settings
Settings can vary. Always test first. Use the Cricut Heat Guide or App if available. Generally, slightly higher temperatures than a traditional press might be needed.
Steps for Accuracy
Fabric-Specific Settings
Achieving sufficient and even pressure is key when using a Cricut EasyPress, as it relies on manual force.
| Fabric | Temperature (°F / °C) | Time (Seconds) | Pressure | Peel | Notes & Tips |
|---|---|---|---|---|---|
| Cotton | 315–330°F / 157-165°C | 20–25s | Firm | Cold | Press firmly; lean in with full body weight. |
| Polyester | 285–300°F / 140-149°C | 15–20s | Firm | Cold | Lower temp to avoid scorching fabric. |
| Blends | 300–310°F / 149-154°C | 20s | Firm | Cold | Ensure even pressure; press in sections if large. |
| Nylon | 265–280°F / 129-138°C | 15s (twice) | Firm | Cold | Sensitive to heat; double-press carefully. |
Expert Tips
For Personal Projects
Household Iron Application
Using a household iron is challenging for DTF due to inconsistent heat and pressure, and is generally not recommended for durable results.
Steps
Fabric-Specific Settings
Use highest heat (Cotton/Linen), NO STEAM. Test on scrap fabric first.
| Fabric | Iron Setting | Time per Section (seconds) | Pressure | Peel | Notes & Tips |
|---|---|---|---|---|---|
| Cotton | Cotton/Linen (NO STEAM) | 20–30 (can be up to 40s) | Firm (lean in) | Cold (cool completely) | Stationary press; overlap sections. |
| Polyester | Medium (NO STEAM) (or one level below cotton) | 15–25 | Firm | Cold | Avoid high heat; watch for scorch marks. |
| Blends | Medium-High (NO STEAM) | 20–30 | Firm | Cold | Adjust heat cautiously based on blend. |
| Nylon | Low-Medium (NO STEAM) | 15–20 (possibly twice) | Firm | Cold | Heat sensitive; repeat press cautiously. |
Expert Tips
Troubleshooting Common Issues
| Issue | Possible Cause(s) | Quick Fix / Solution(s) |
|---|---|---|
| Transfer Lifting / Not Sticking / Peels Up During Peeling |
- Insufficient heat - Insufficient pressure - Insufficient time - Peeling too soon (if cold peel) or at wrong temp - Fabric moisture, wrinkles, or dirt - Incompatible fabric or fabric coating (e.g., waterproofing) - Uneven pressure (esp. Iron/Cricut) - Low-quality transfer film/adhesive |
- Verify Temp/Time/Pressure settings are correct for fabric. - Increase setting(s) slightly if consistently under-adhering, test first. - Ensure thorough pre-pressing of garment. - Apply firm, even pressure; increase manual pressure for Iron/Cricut. - Allow full cooling time for cold peel transfers. - If lifting occurs during peel, stop, lay film back, cover, and re-press affected area for 5-10 seconds. Let cool fully again before peeling. - Use heat-resistant tape to prevent shifting. |
| Print Cracks or Fades After Washing |
- Poor initial adhesion (see above) - Incorrect pressing settings (Temp/Time/Pressure) - Over-curing (too much heat/time making print brittle) - Applying to highly stretchy fabric without a suitable flexible transfer - Harsh washing/drying methods - Low-quality transfer materials |
- Optimize press settings for fabric type. - Perform the post-press step. - Avoid excessive heat or time (over-curing). - Use transfers designed for stretch fabrics if needed. - Strictly follow recommended garment care instructions (see below). |
| Ink Bleeds / Looks Smudged |
- Excessive heat or pressure during pressing - (Manufacturing issues: too much ink, high humidity, incorrect curing) |
- Reduce heat press temperature or pressure slightly if suspected. - Ensure correct pressing time. - Control ink levels in printer settings and maintain 45-55% humidity in print environment if printing your own transfers. |
| Ghosting / Double Image |
- Transfer film shifted during pressing - Uneven pressure application |
- Secure the transfer film firmly using heat-resistant tape before pressing. - Ensure heat press provides even pressure; for Cricut/Iron, ensure careful placement and avoid movement. |
| Bubbles or Wrinkles Under Transfer |
- Fabric not completely flat/smooth before pressing - Moisture remained in the fabric - Transfer film not laid flat - Uneven heating/pressure (esp. Iron) |
- Ensure thorough pre-pressing to remove all wrinkles and moisture. - Smooth garment completely flat on pressing surface. - Lay transfer film smoothly, tape if needed. - For Iron: Try gently smoothing bubbles with iron edge over parchment. |
| Scorch Marks on Fabric | - Excessive heat for the fabric type |
- Lower heat press temperature. - Use a protective sheet (parchment/Teflon) if not already. - Shorten press time if possible, ensuring adhesion. |