

Build A DTF Gang Sheet


Build A DTF Gang Sheet
Build A DTF Gang Sheet
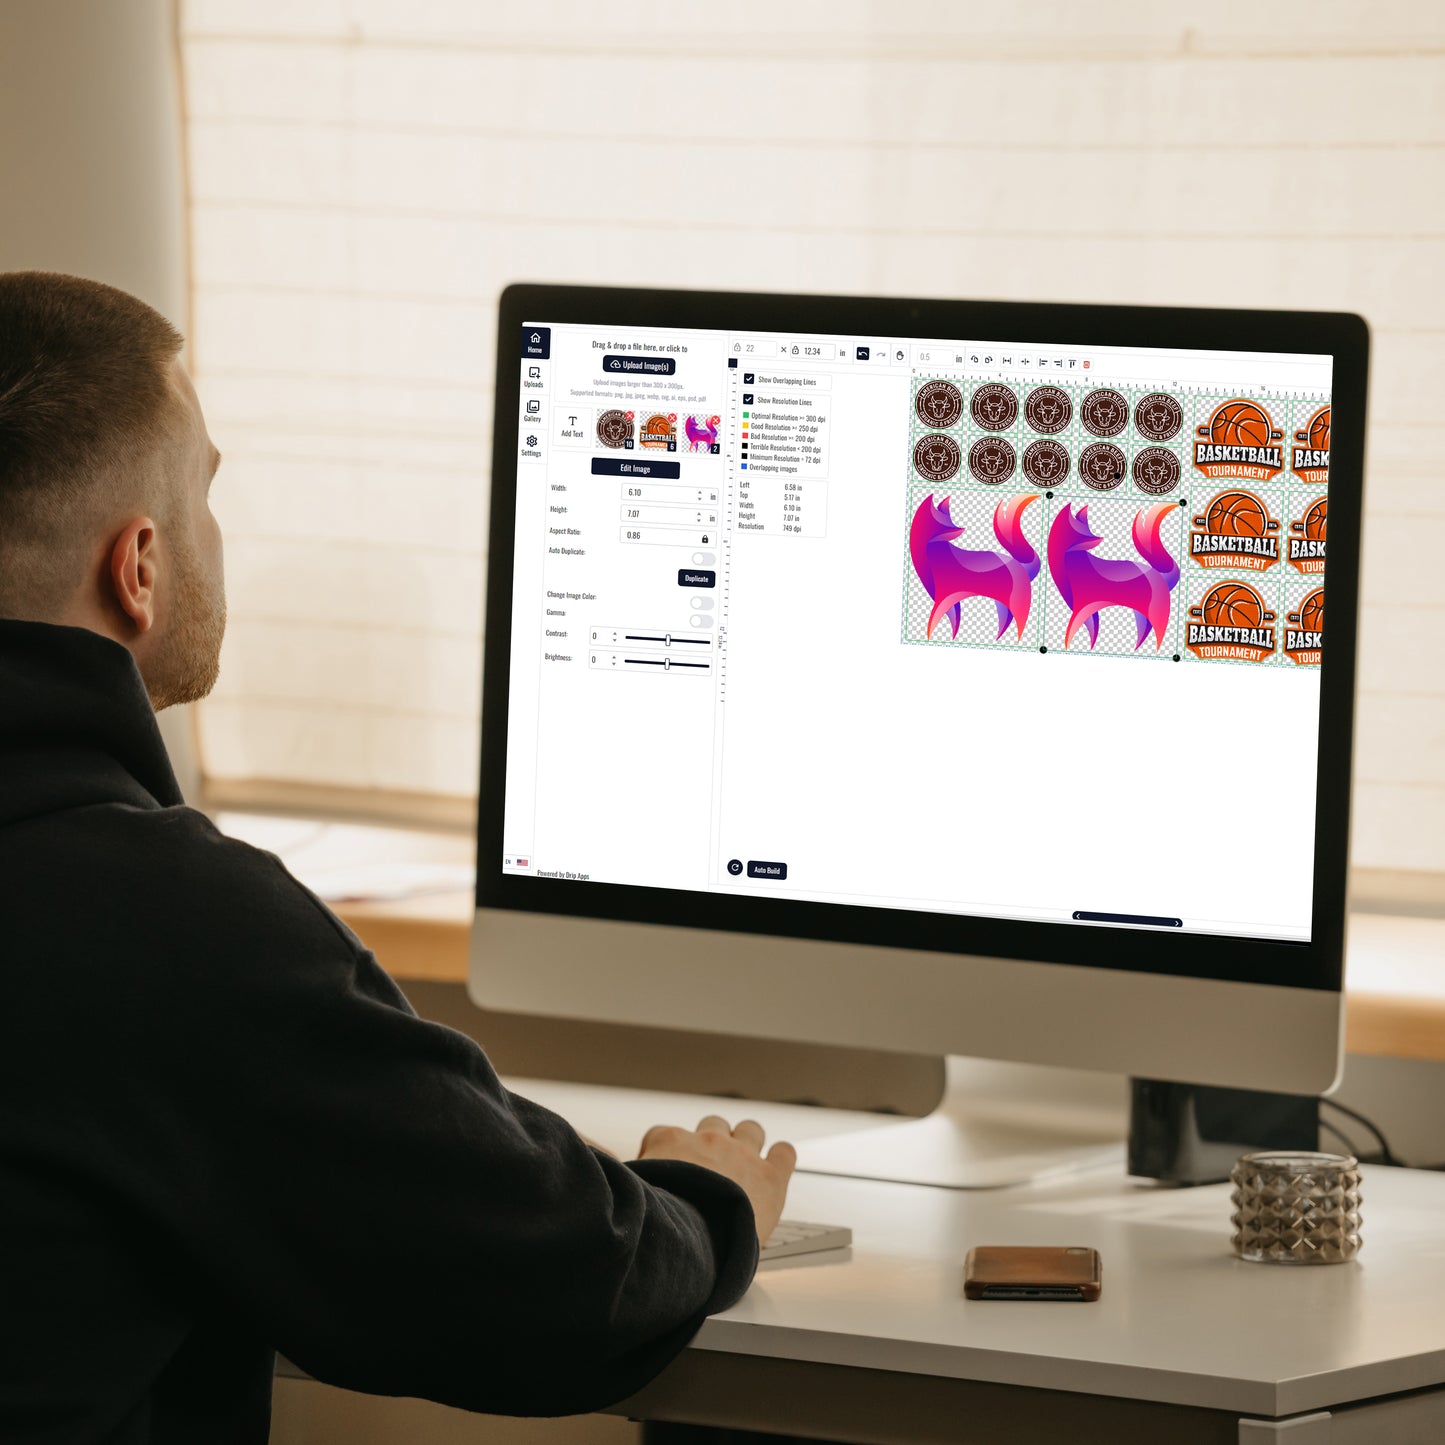
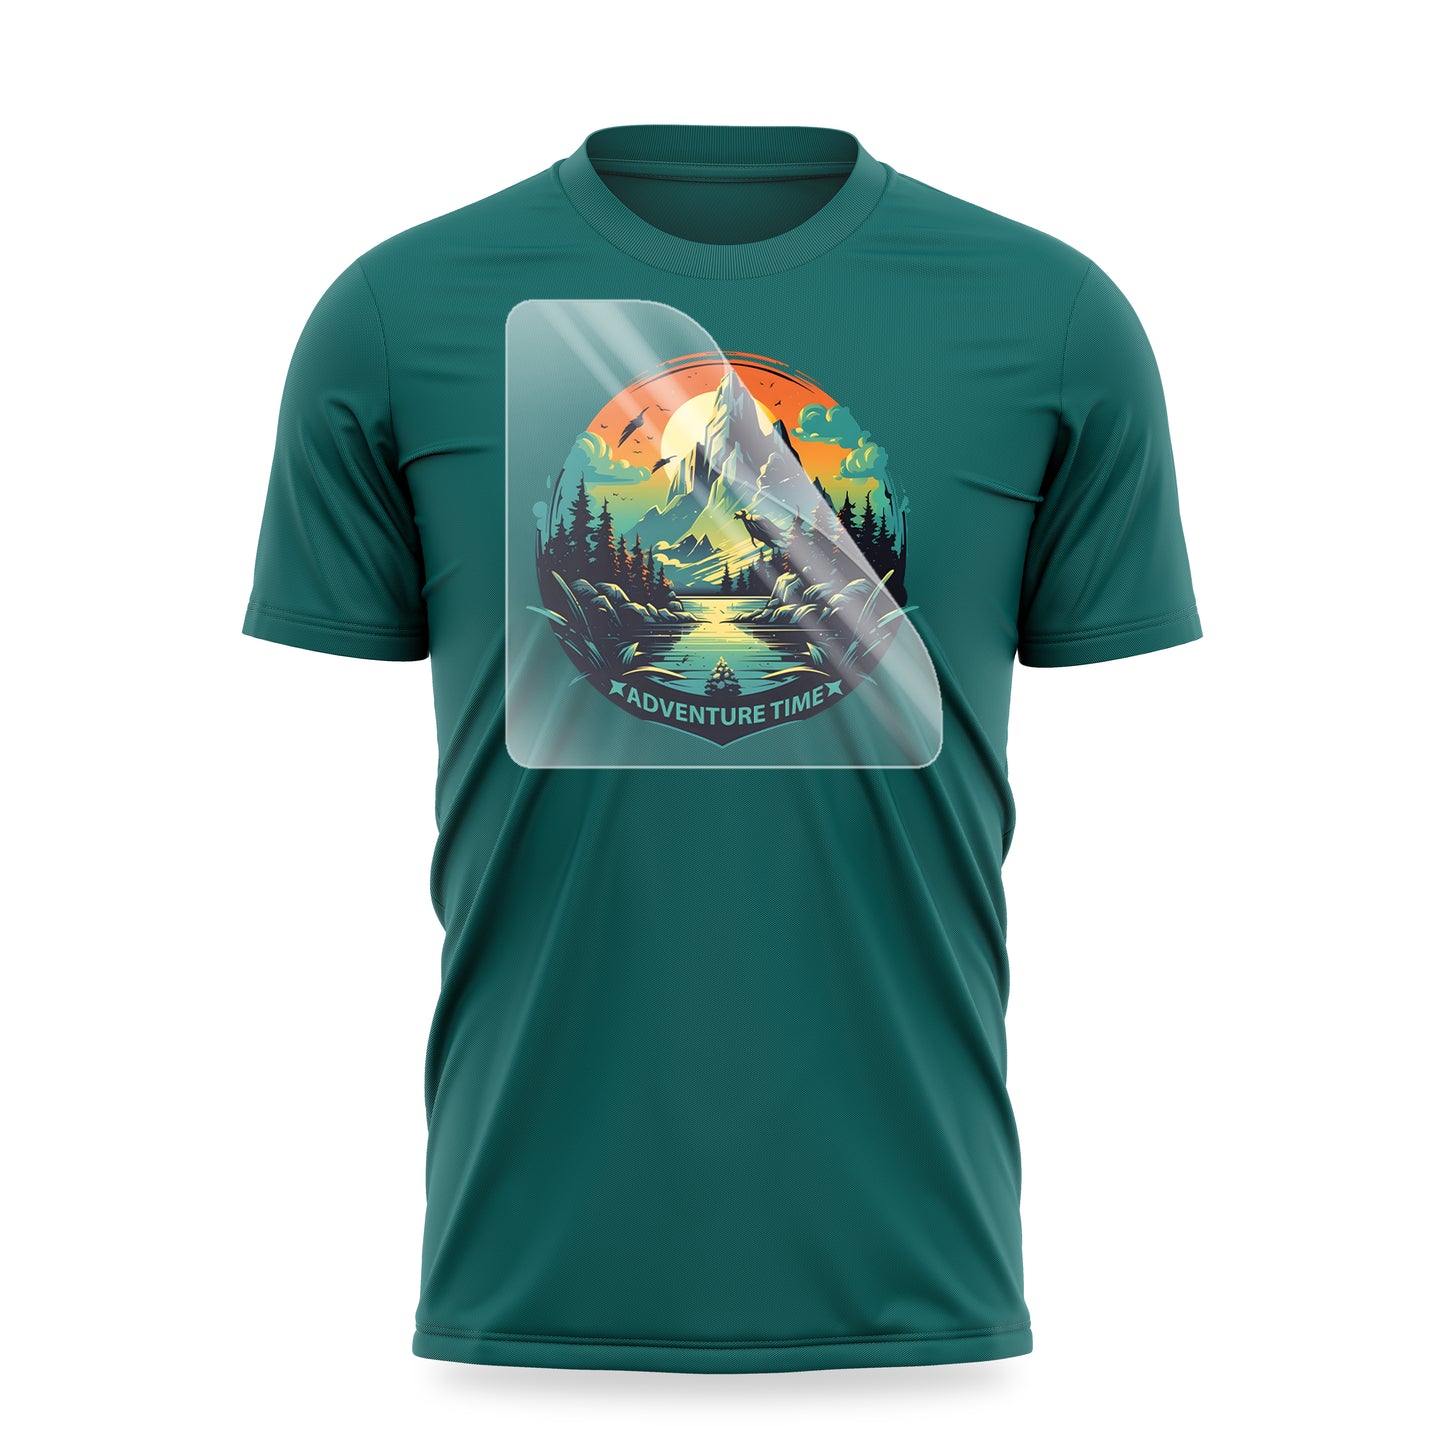
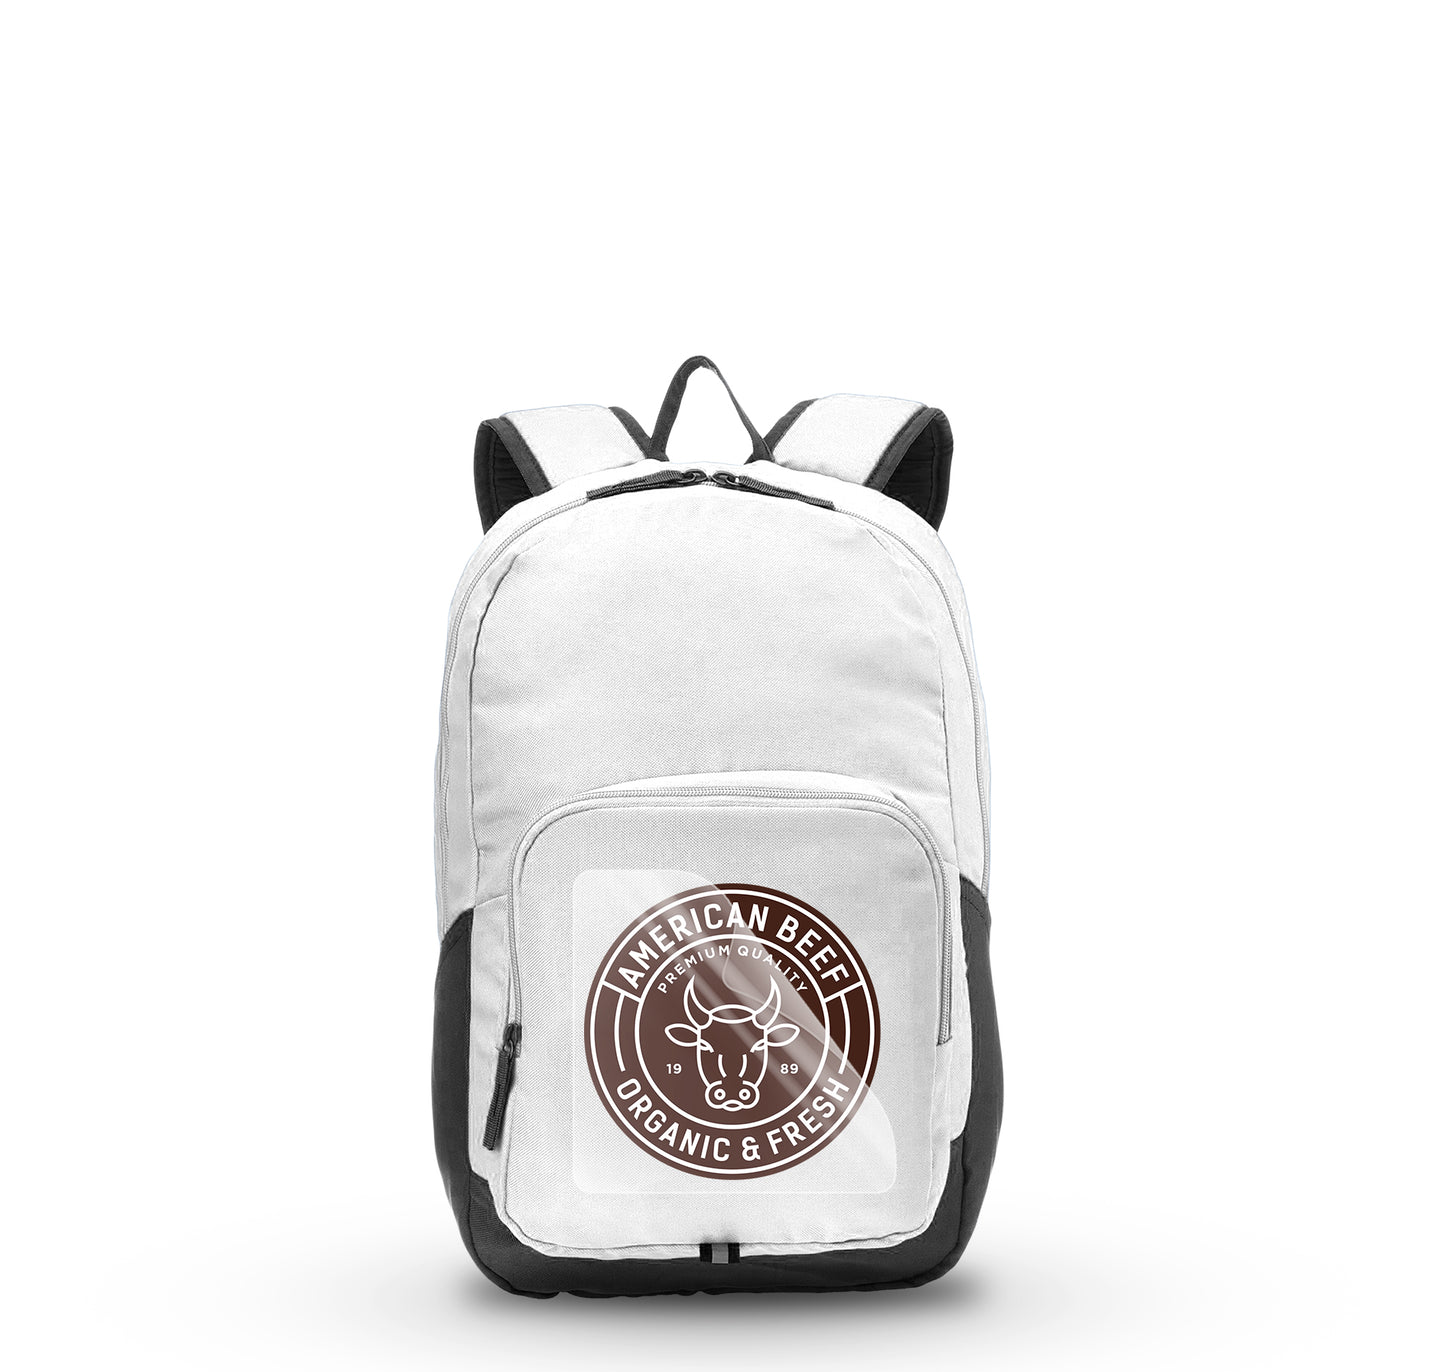
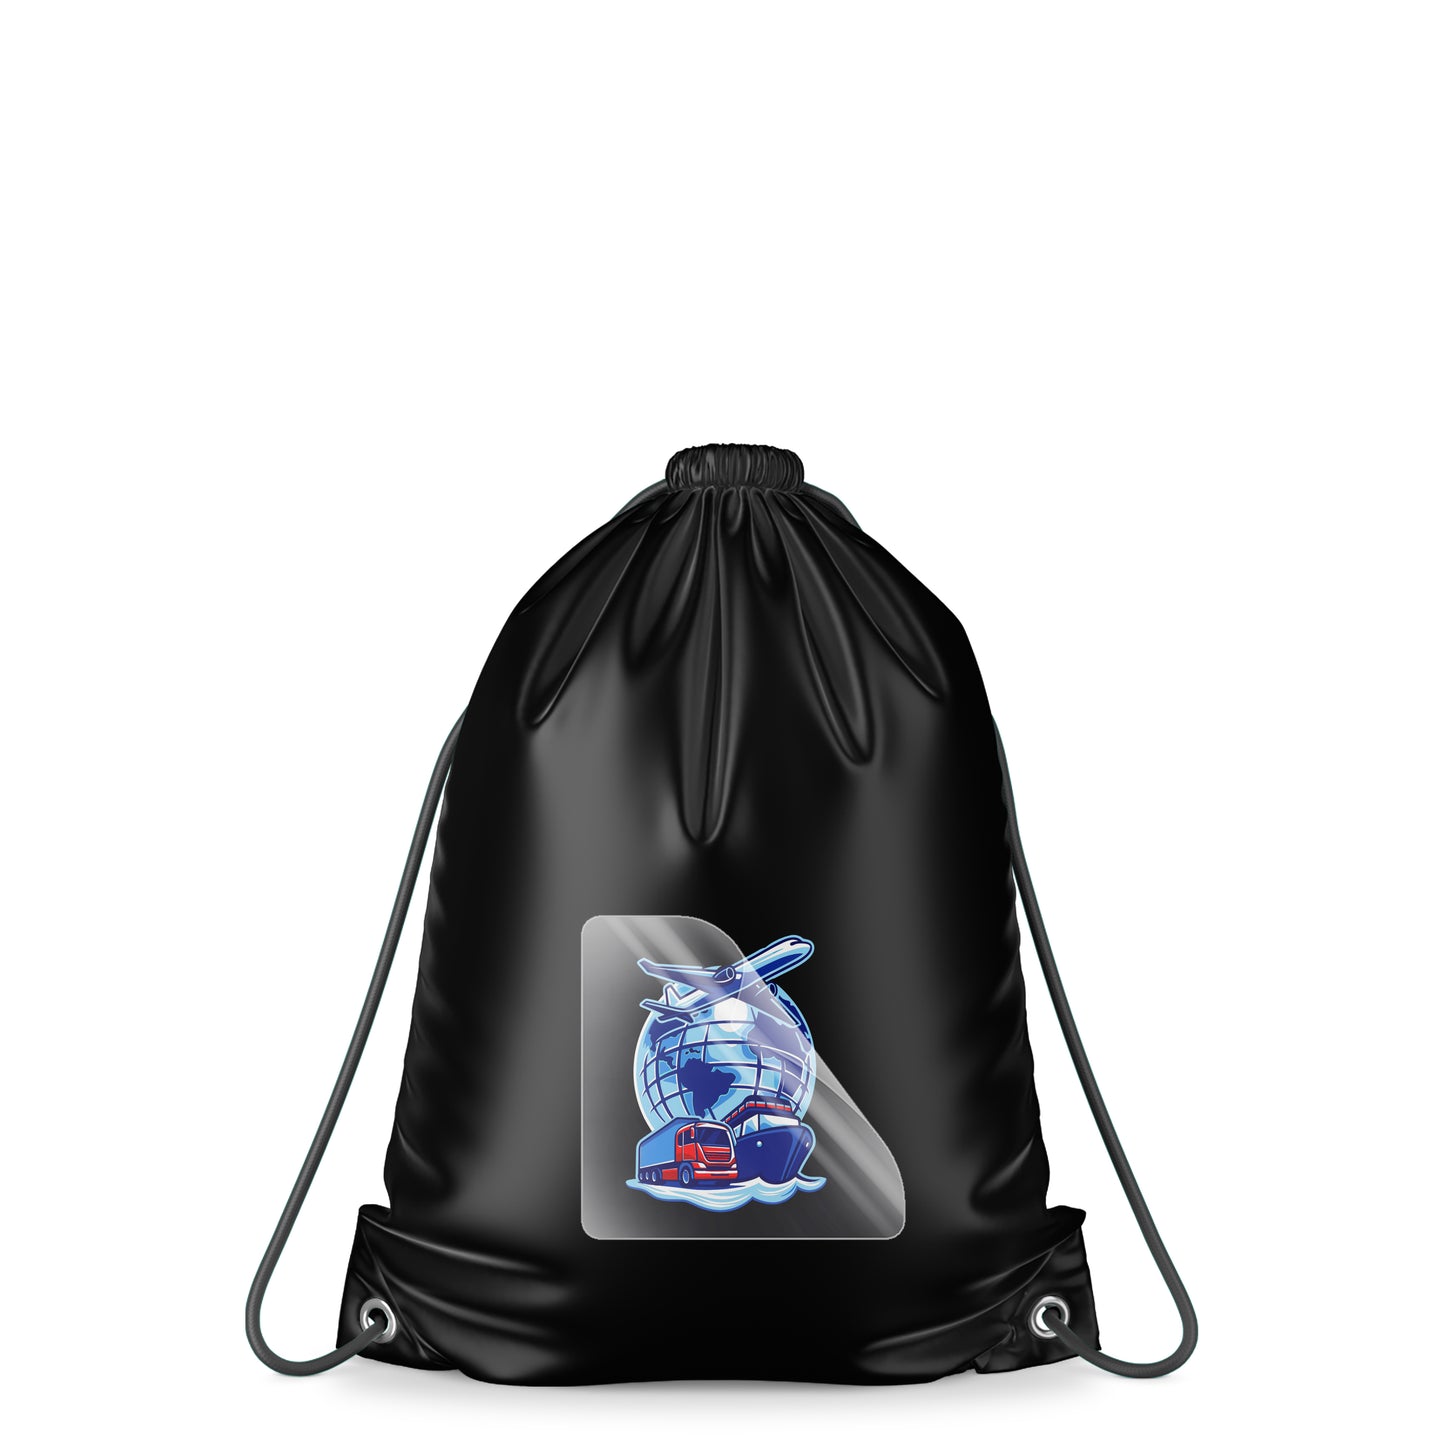
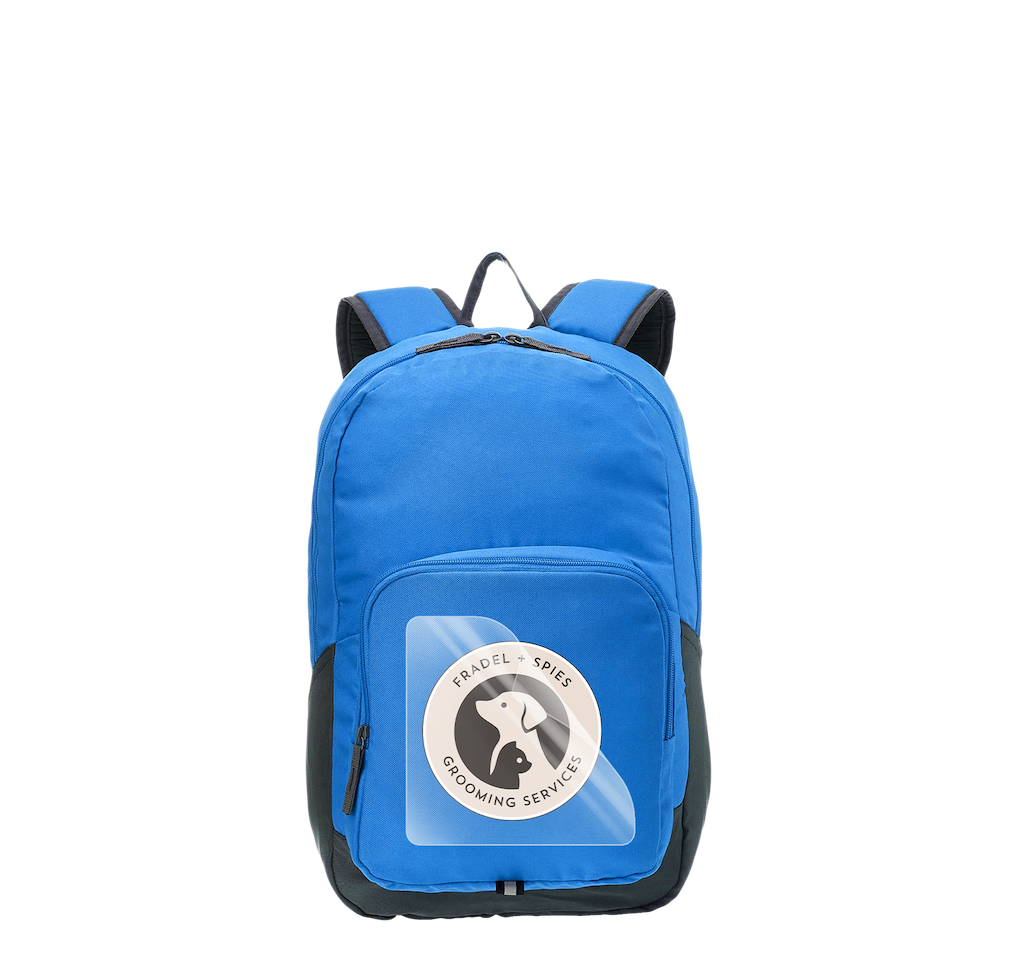
Create high-quality DTF transfers with ease using our custom gang sheet builder. Upload your designs, and we’ll automatically arrange them to maximize the number of prints per sheet. With the Auto Builder option, your transfers will arrive pre-cut and ready to press with vibrant, professional results. Save your designs for quick reordering and get the same flawless prints every time!
 Fast Shipping
 Free Cutting
 Quality Guarantee
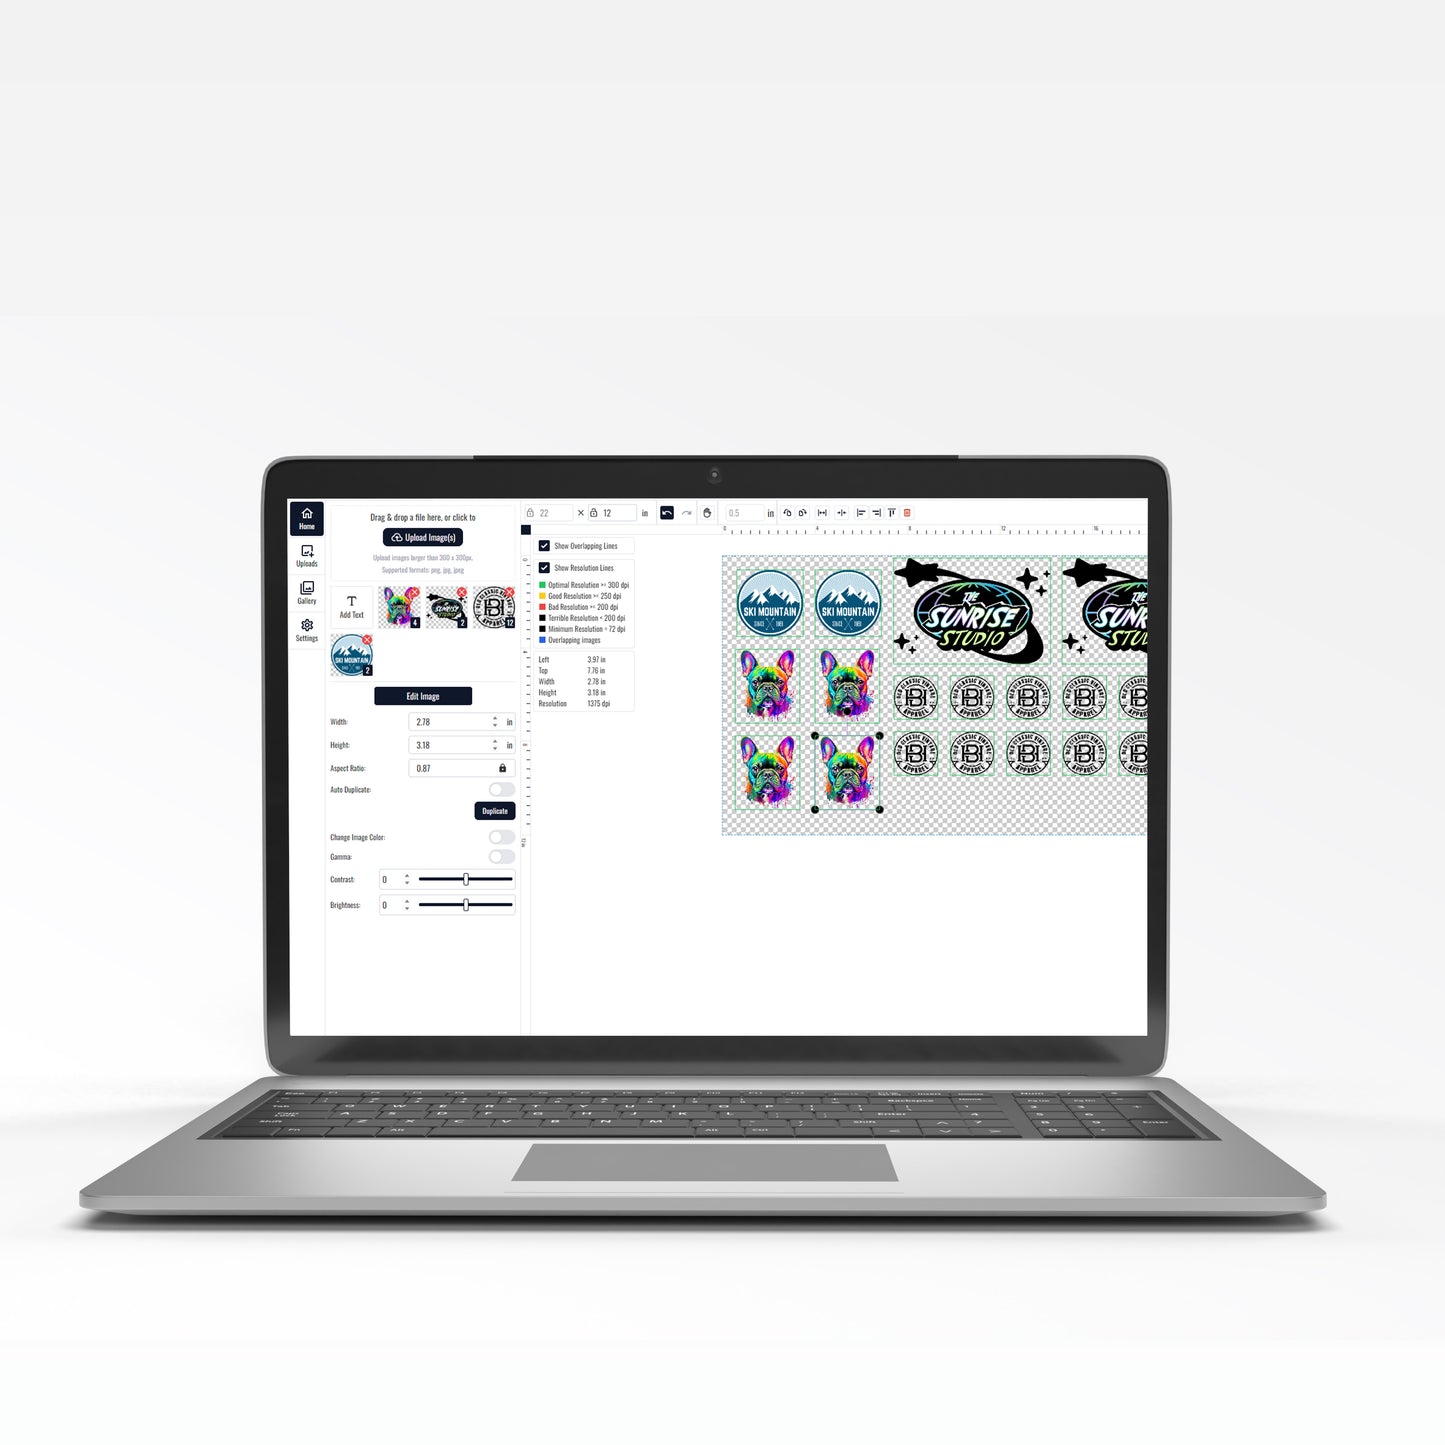
Need help building your gang sheets? No problem. Our gang sheet builder offers 3 easy ways for you to create your gang sheet and send it off to our printers:
1. Auto Builder
1. Auto Builder
We automatically arrange your designs to maximize the use of space—ensuring you get the most prints possible for sheet size. We also offer free cutting! View Art Specifications below.
2. Manual Builder
2. Manual Builder
Drag and drop your images to arrange as you would like. Free cutting is not available with this option.
3. Load a Previously Ordered Gang Sheet
3. Load a Previously Ordered Gang Sheet
Easily access your past gang sheets to reorder, with all your designs safely stored and at your fingertips.
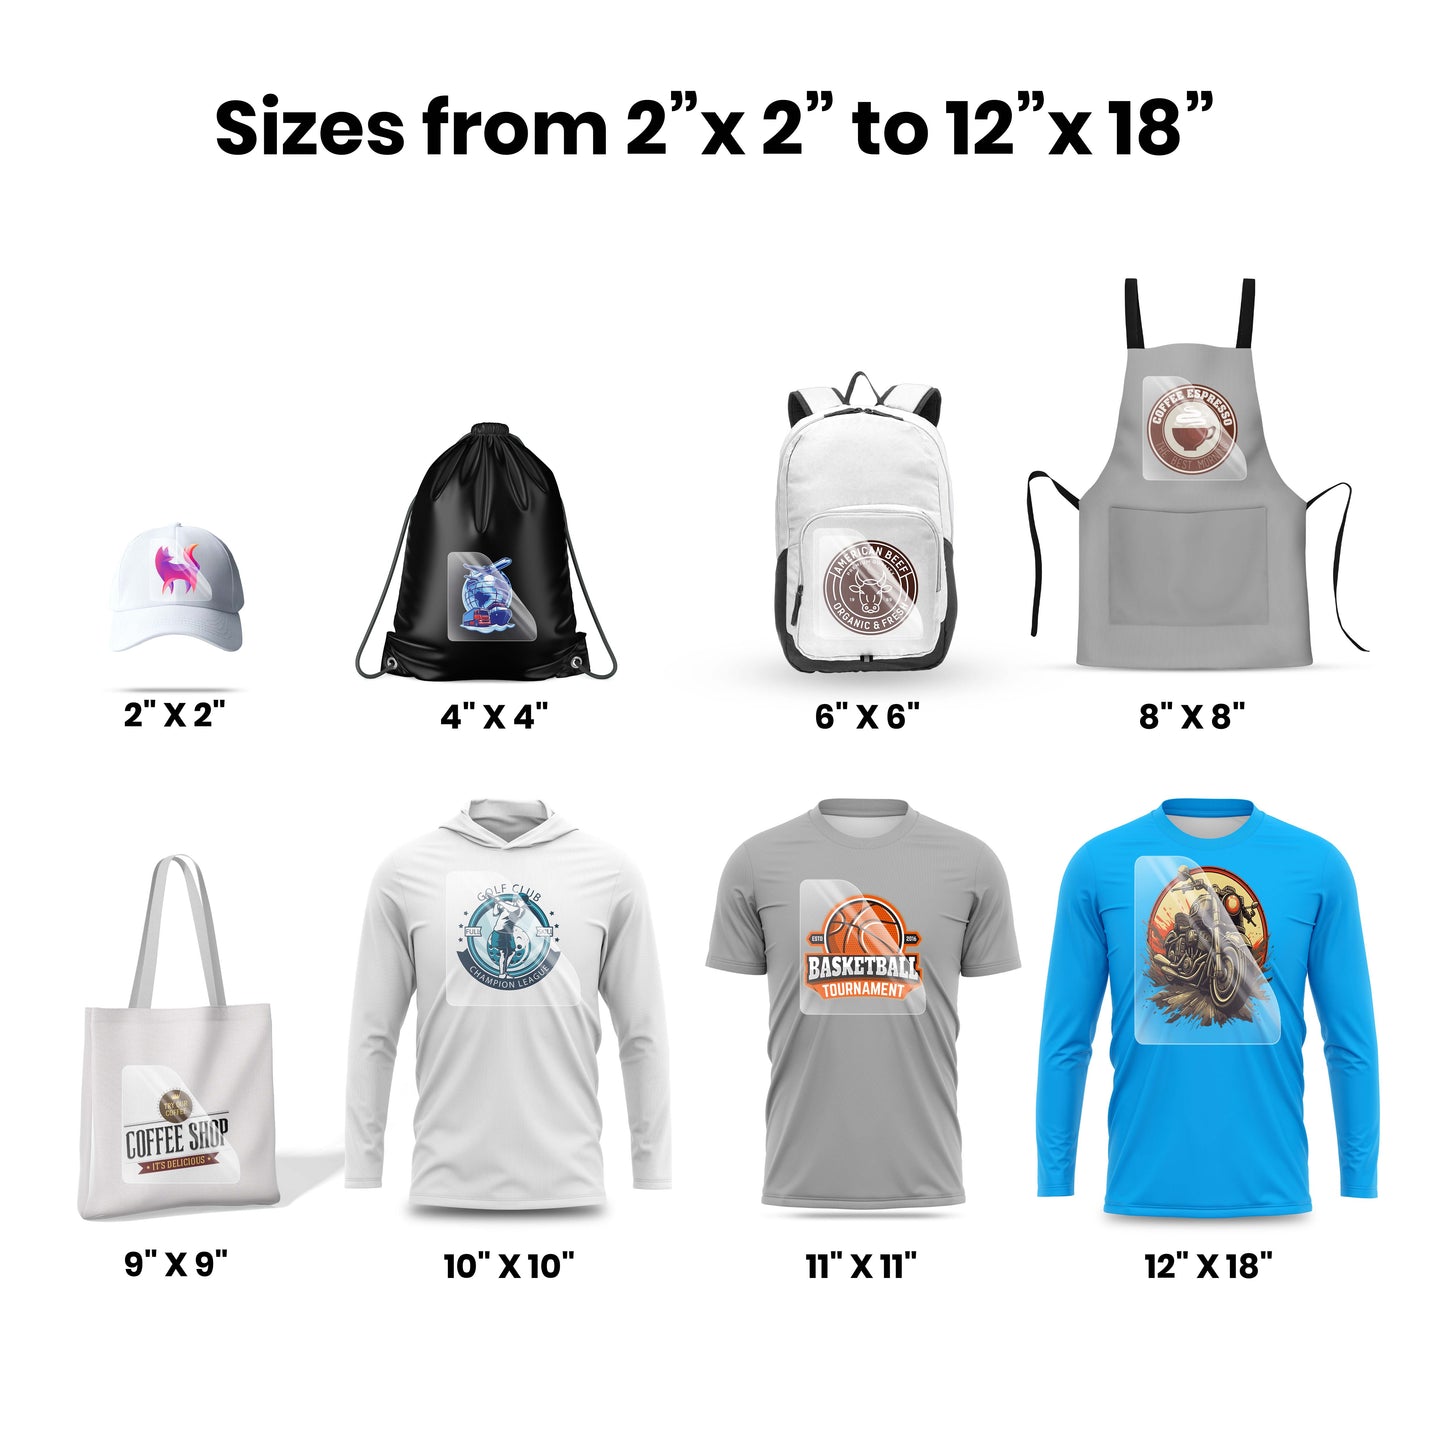


Art Specification Guide
Follow these simple steps to prepare your artwork for uploading to the Gang Sheet Builder.
-

1. Create a New File
Click on "New File" to open the setup window and set the document dimensions.
-

2. Dimensions + Resolution
Input the width and height and set the Resolution to 300dpi. Note: change the units of measurements if desired (e.g., inches, pixels).
-

3. Configure Color & Save
Choose RGB Color Mode and set the background to Transparent. Next, select sRGB as the Color Profile. Use the Square Pixel Aspect Ratio (found in the Advanced Options menu). Review your settings, then click "Create" to generate your new file.
-

4. Import + Embed Image
Under "File", scroll down and select "Place Embedded..." .Find and select your image file and then click "Place."
Adjust the position of the image within the document if needed, then press "Enter" to confirm.
-

5. Ensure Transparent
In the Layers panel, you can check if the file has no background. If you forgot to select "Transparent Background", you can delete that layer and continue.
-

6. Export + Save
Go to "File" and select "Save As". In the saving dialog box, select "PNG" from the Format dropdown and check the box for "Embed Color Profile."


